Creating and Managing Datasets
This guide provides a comprehensive overview of the steps required to create and manage datasets effectively.
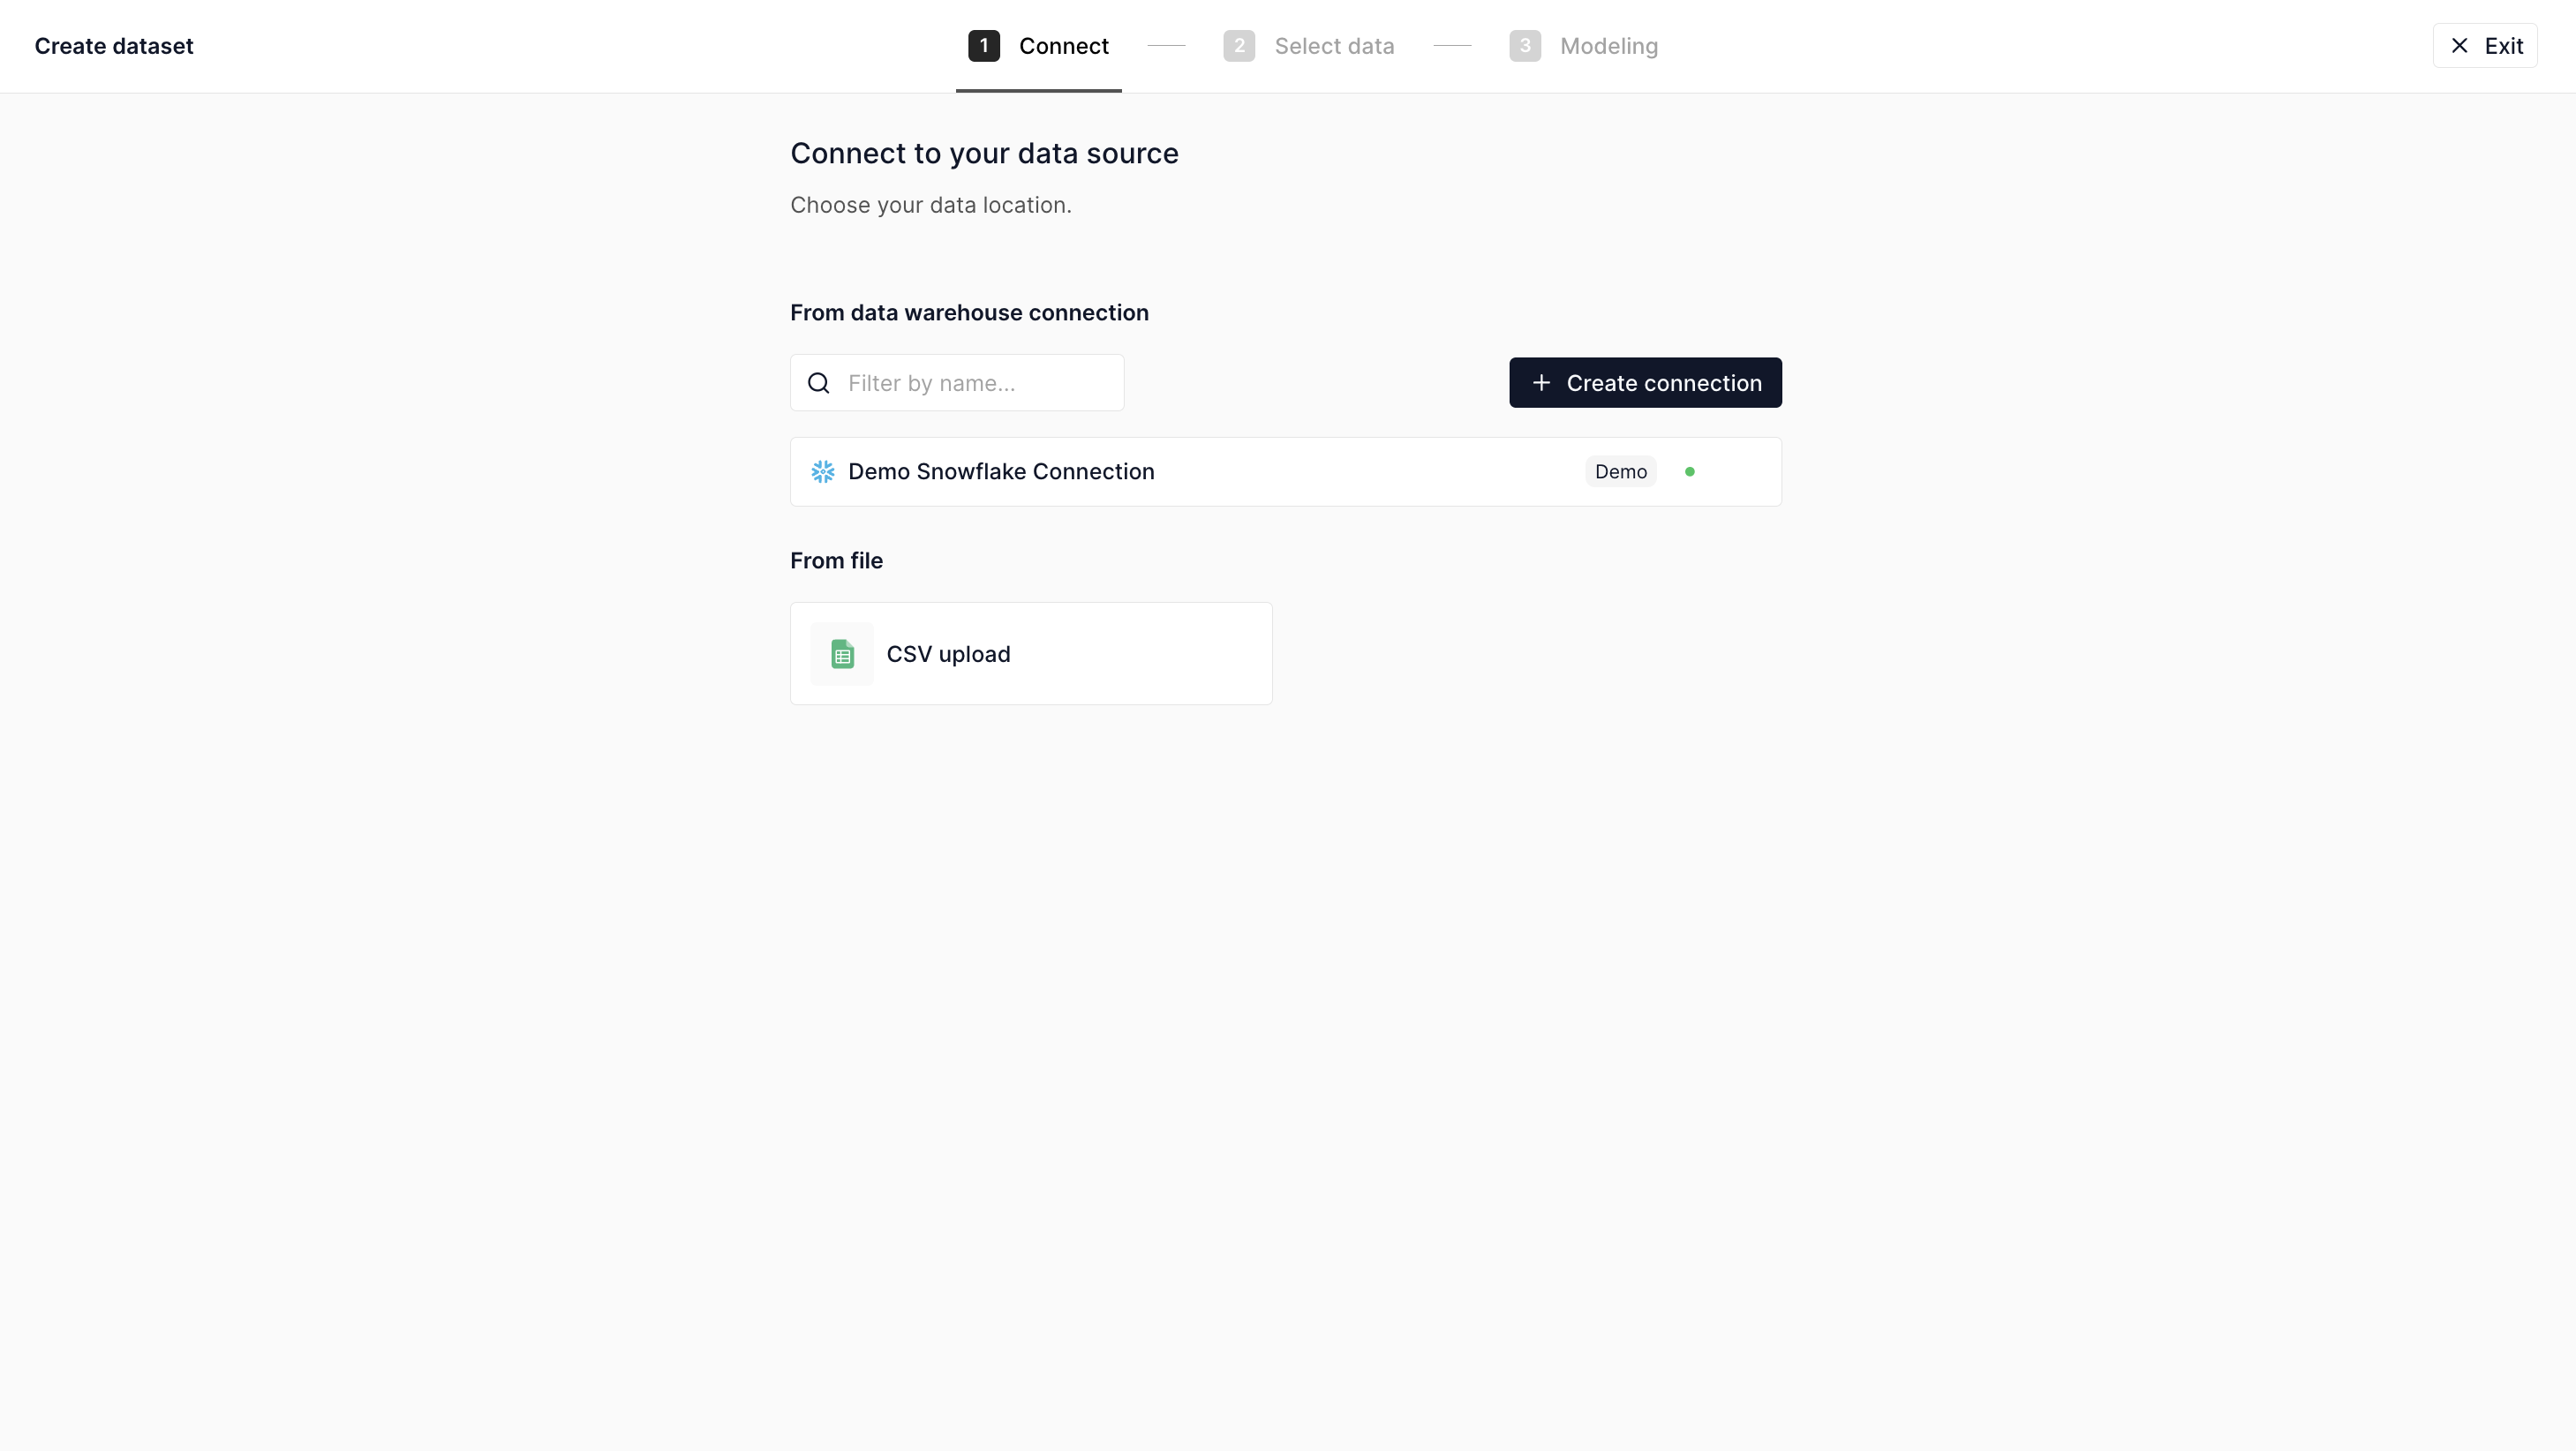
Selecting a Connection
The first step in creating a dataset is selecting a connection. If you need to create a new connection, follow the instructions here.
We also offer a Demo Snowflake Connection, which allows you to upload CSVs for a quick start.
The connection associated with a dataset is always visible on the catalog page. After creating a dataset, you can edit the connection if needed.
Defining Assets (Tables, Views, Joins)
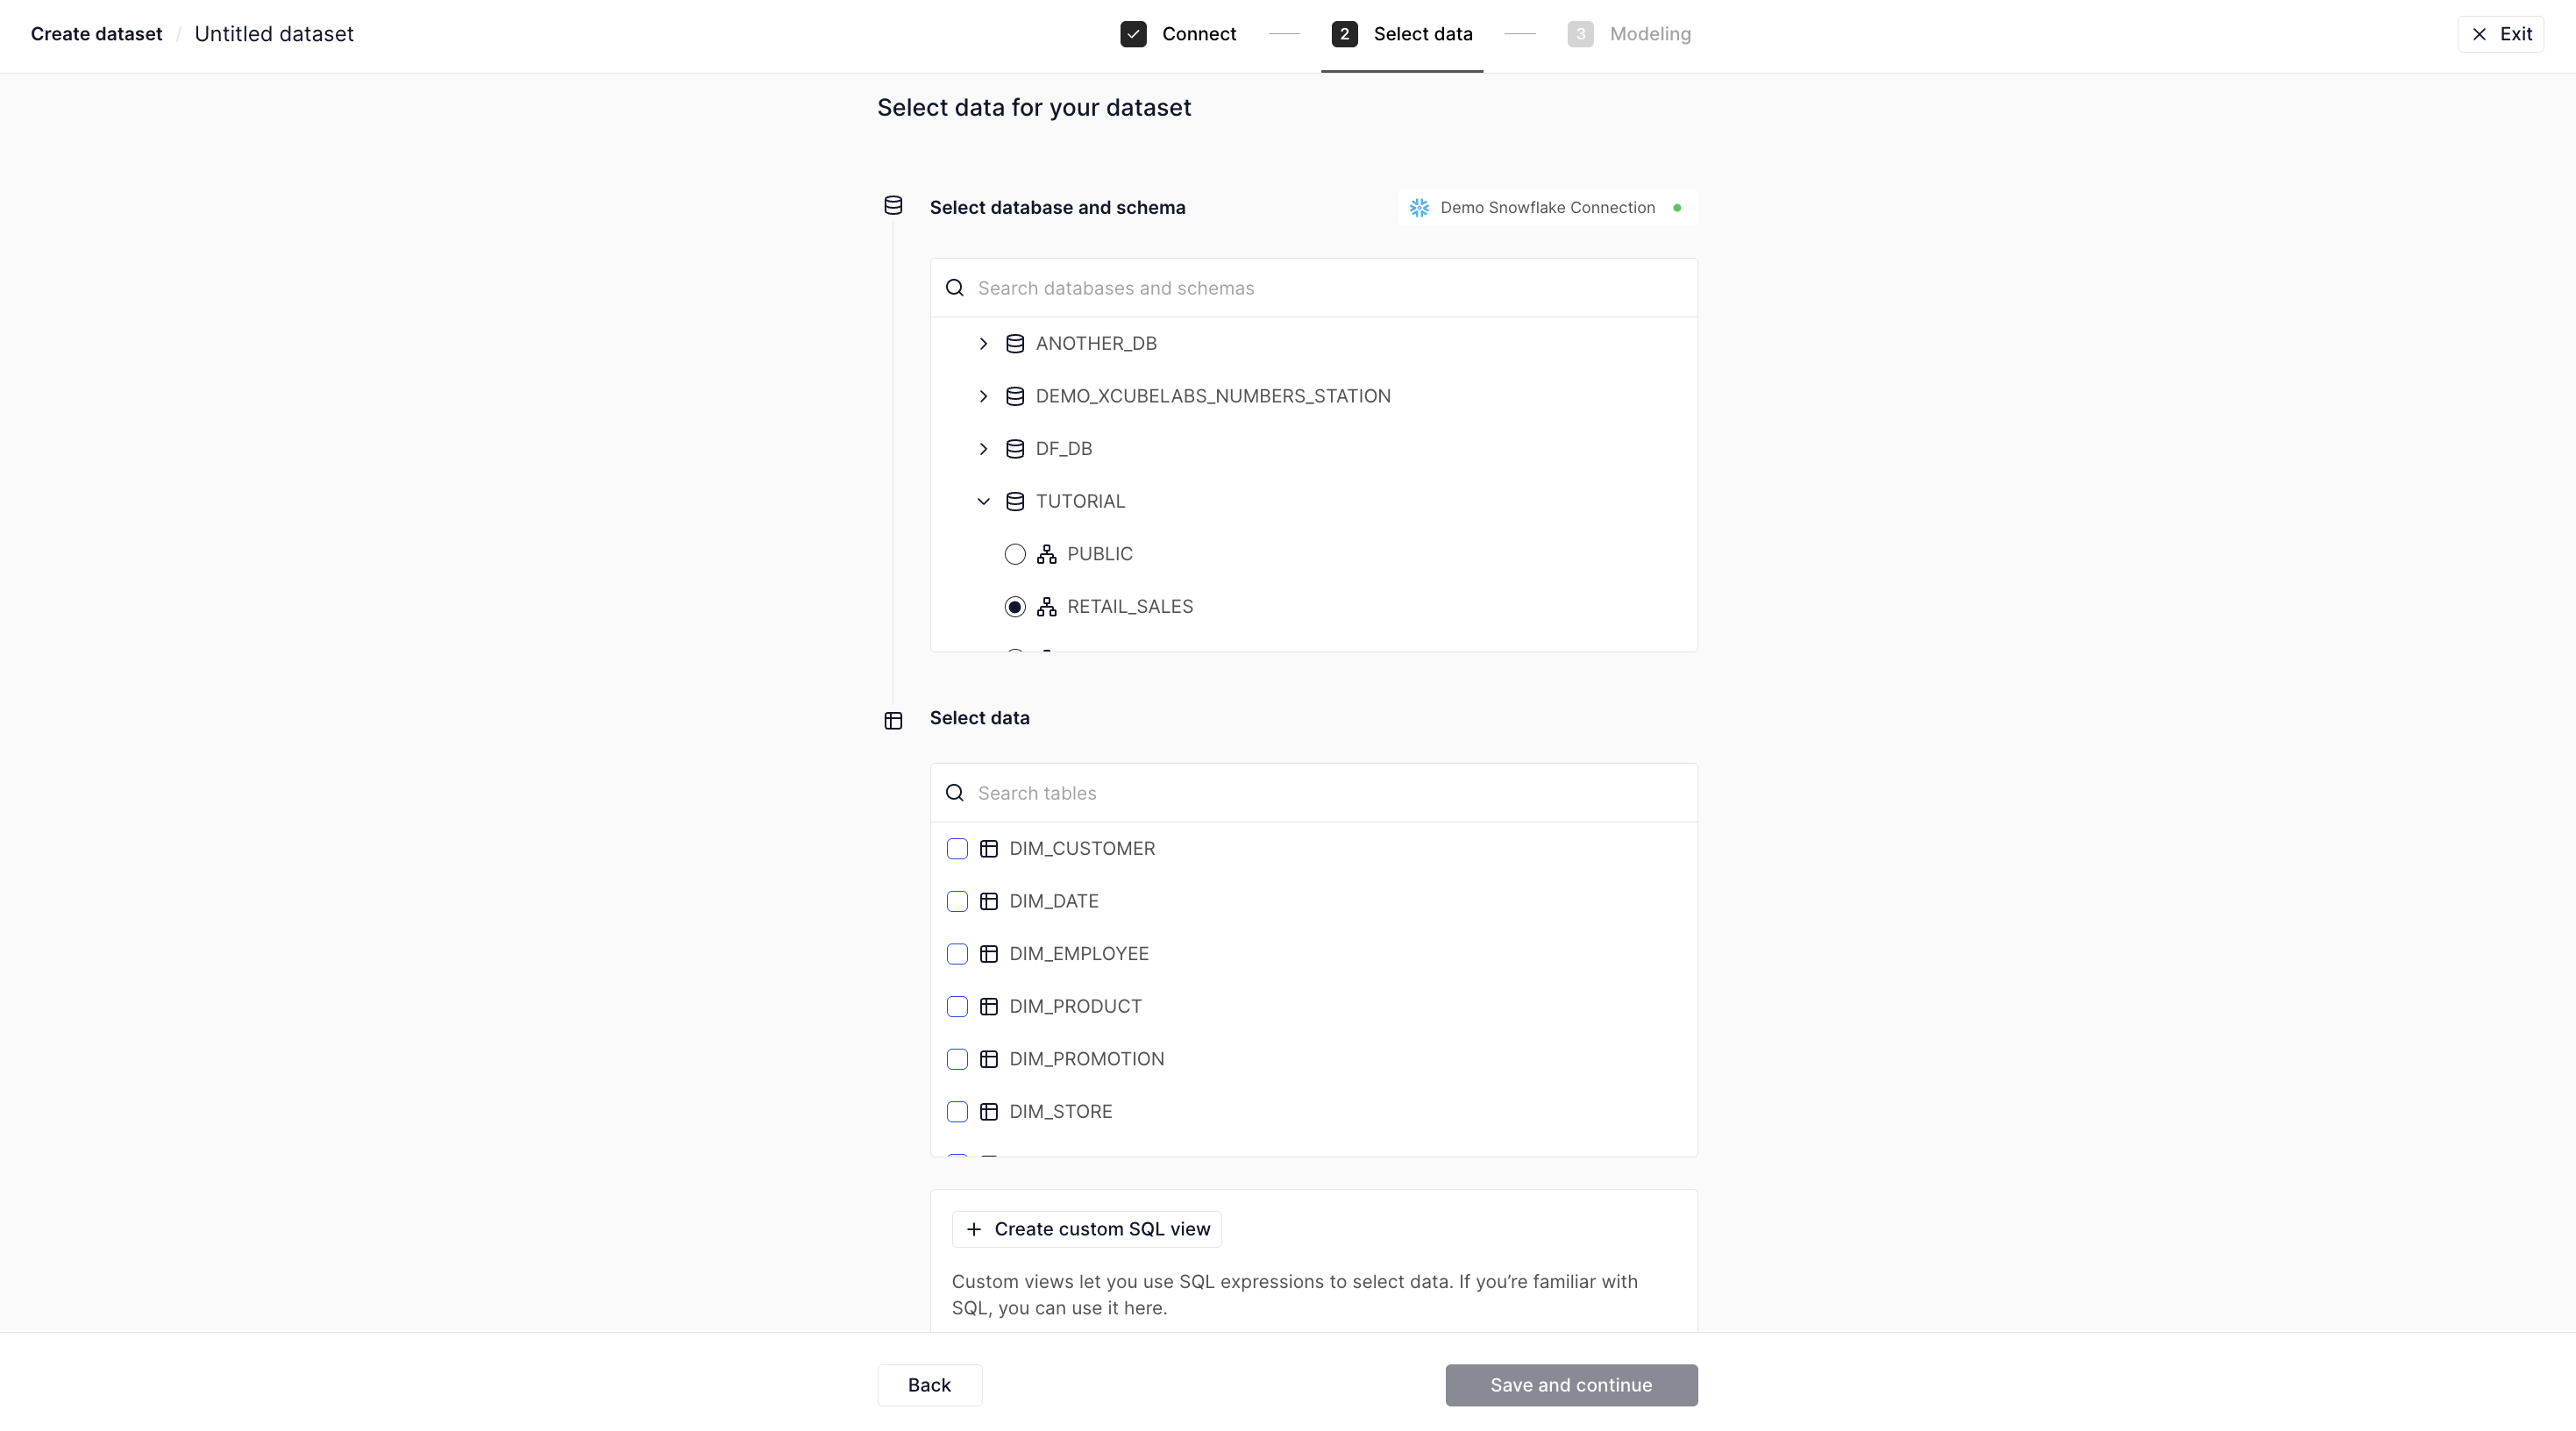
After selecting a connection, you need to choose the tables and SQL views to include in your dataset. When doing so, keep the following in mind:
- Avoid adding tables or SQL views that do not join with others.
- Ideally, the selected tables should form should follow a snowflake schema
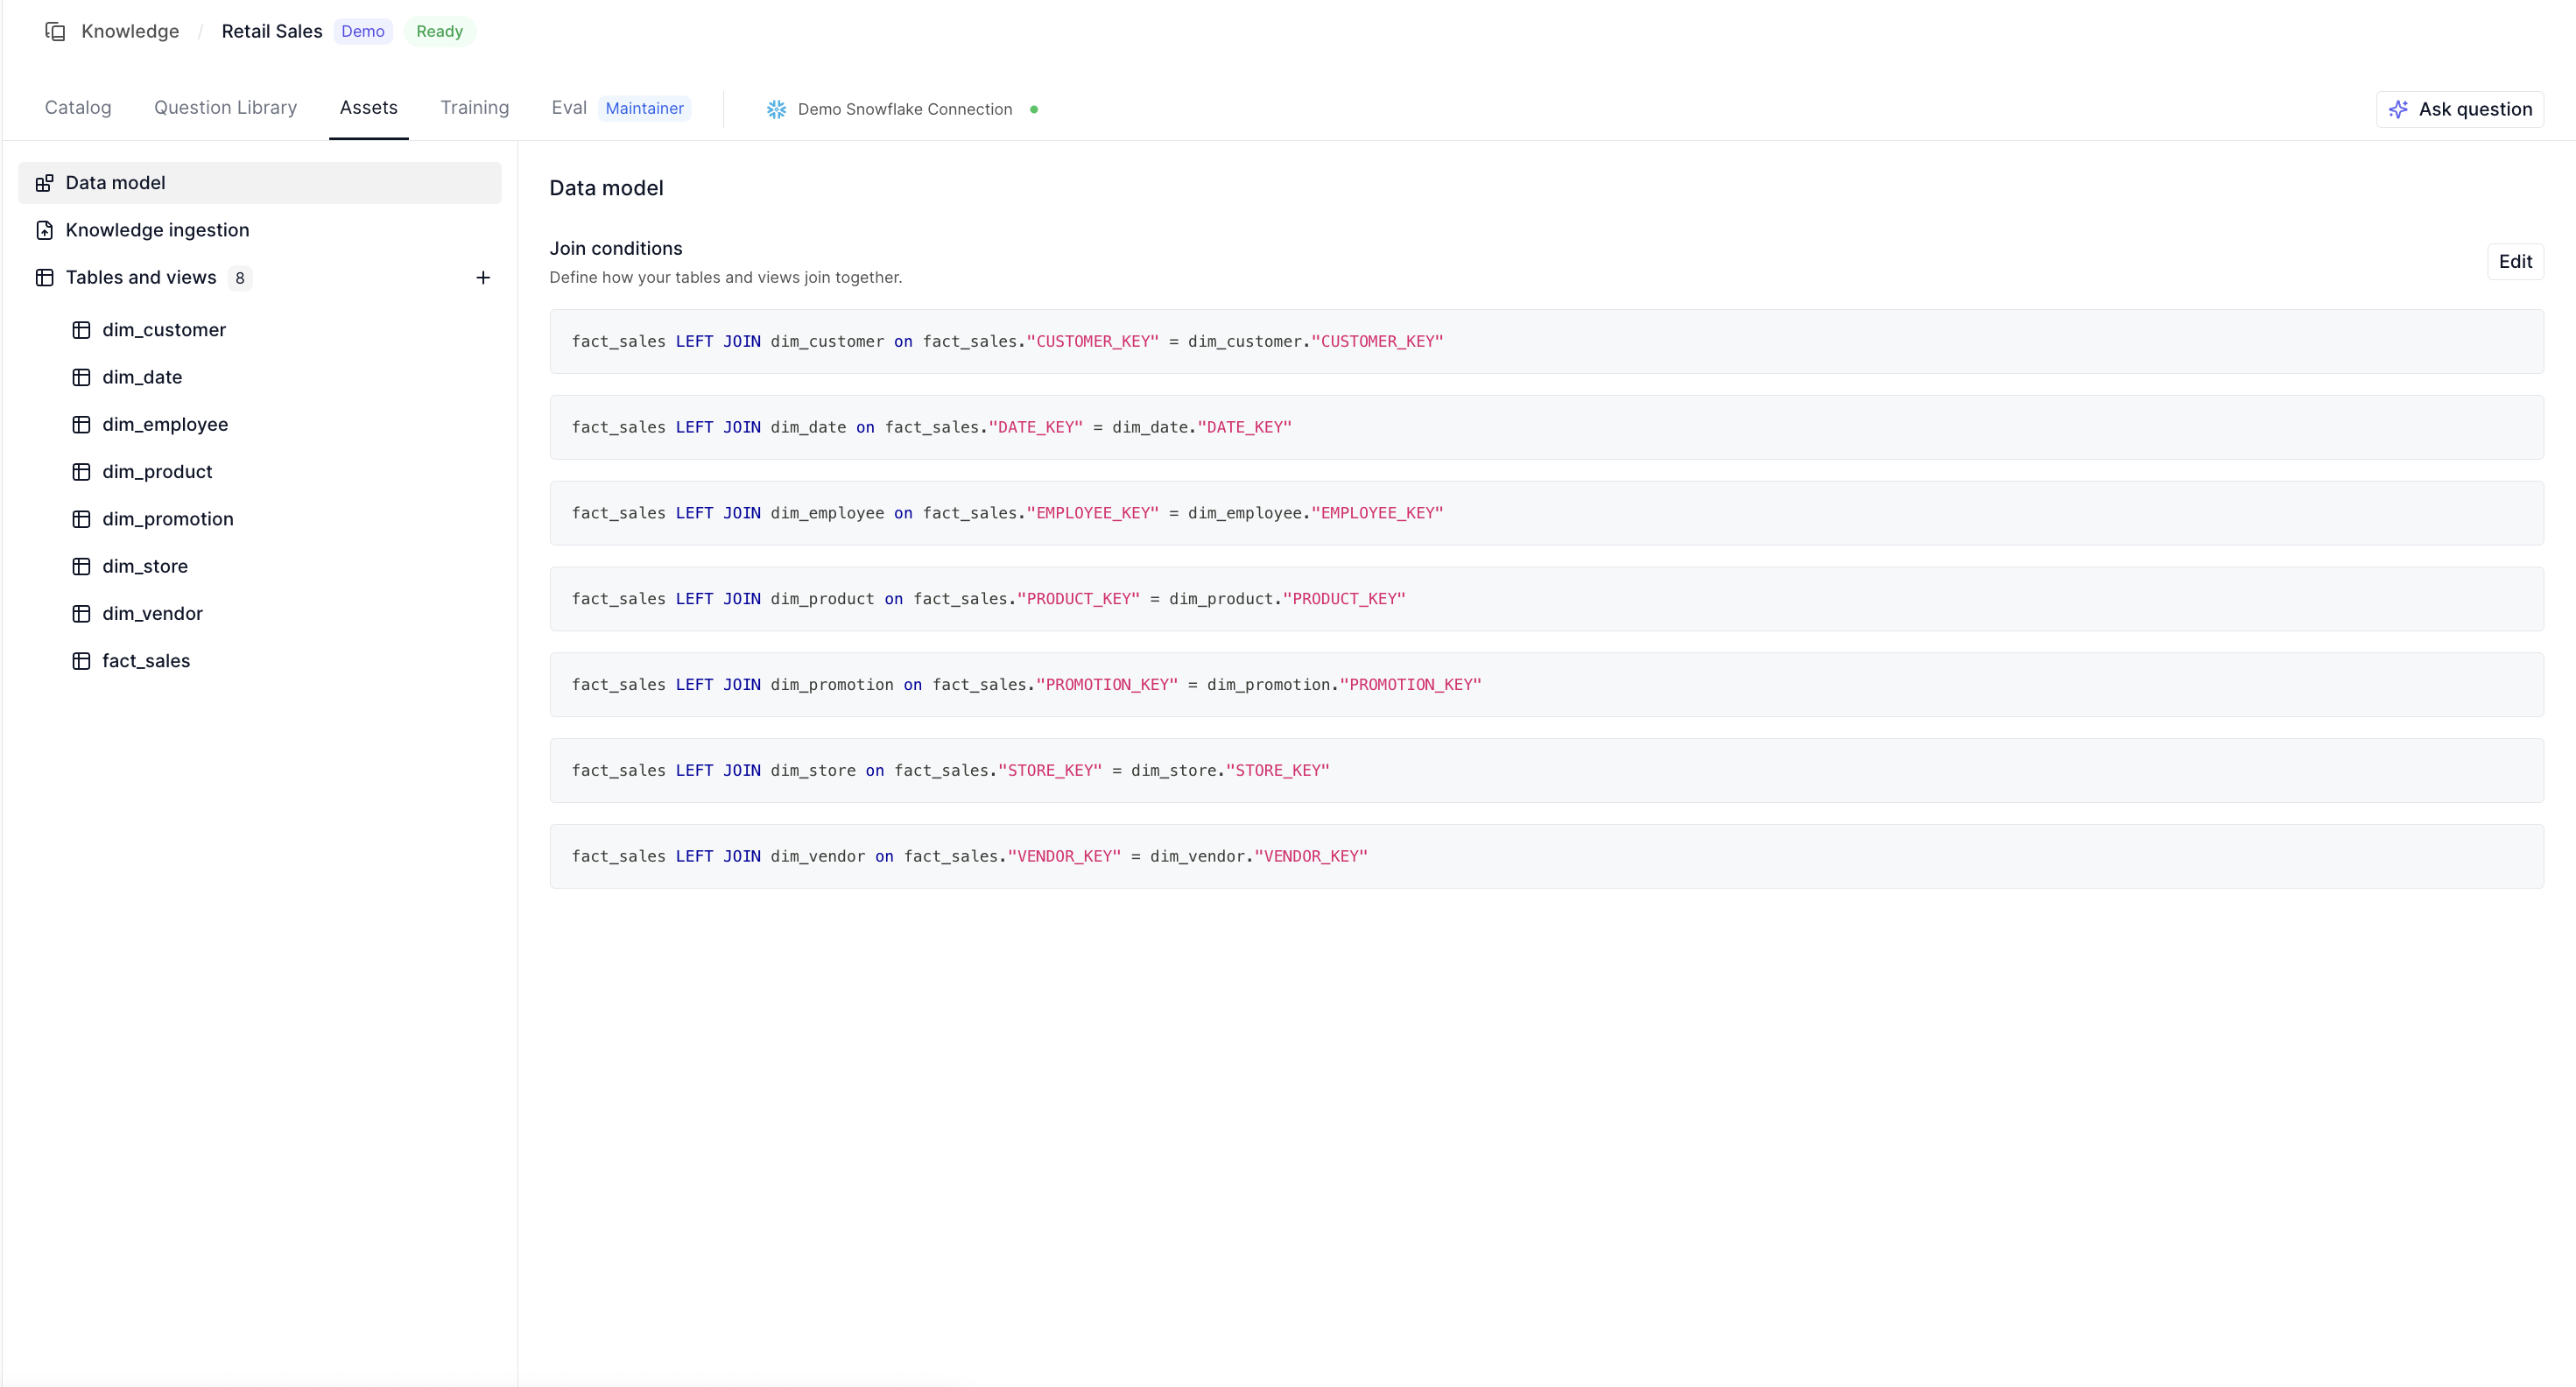
You can define an SQL view within Numbers Station by adding a SQL expression. Note that this does not create a view in the data warehouse. Once the tables are selected, proceed to define the joins between them.
Updating Assets (Tables, Views, Joins)
After setting up your dataset, you can manage its assets through the Assets tab. This includes options to review and edit tables, views, and joins as needed.
If you make any edits to the dataset or modify table schemas, SQL views, or column data types, be sure to:
- Click the
Health Checkbutton on the catalog page. - Click the
Profile Valuesbutton on the catalog page.
These actions validate the dimensions and metrics to ensure they remain accurate. Some dimensions or metrics may change between valid and invalid states based on the changes made to the assets.
Curating the Semantic Catalog
After defining tables and joins, many dimensions and metrics will be automatically populated in the catalog. Learn more about dimensions and metrics here.
States of Dimensions and Metrics
Dimensions and metrics can have the following states:
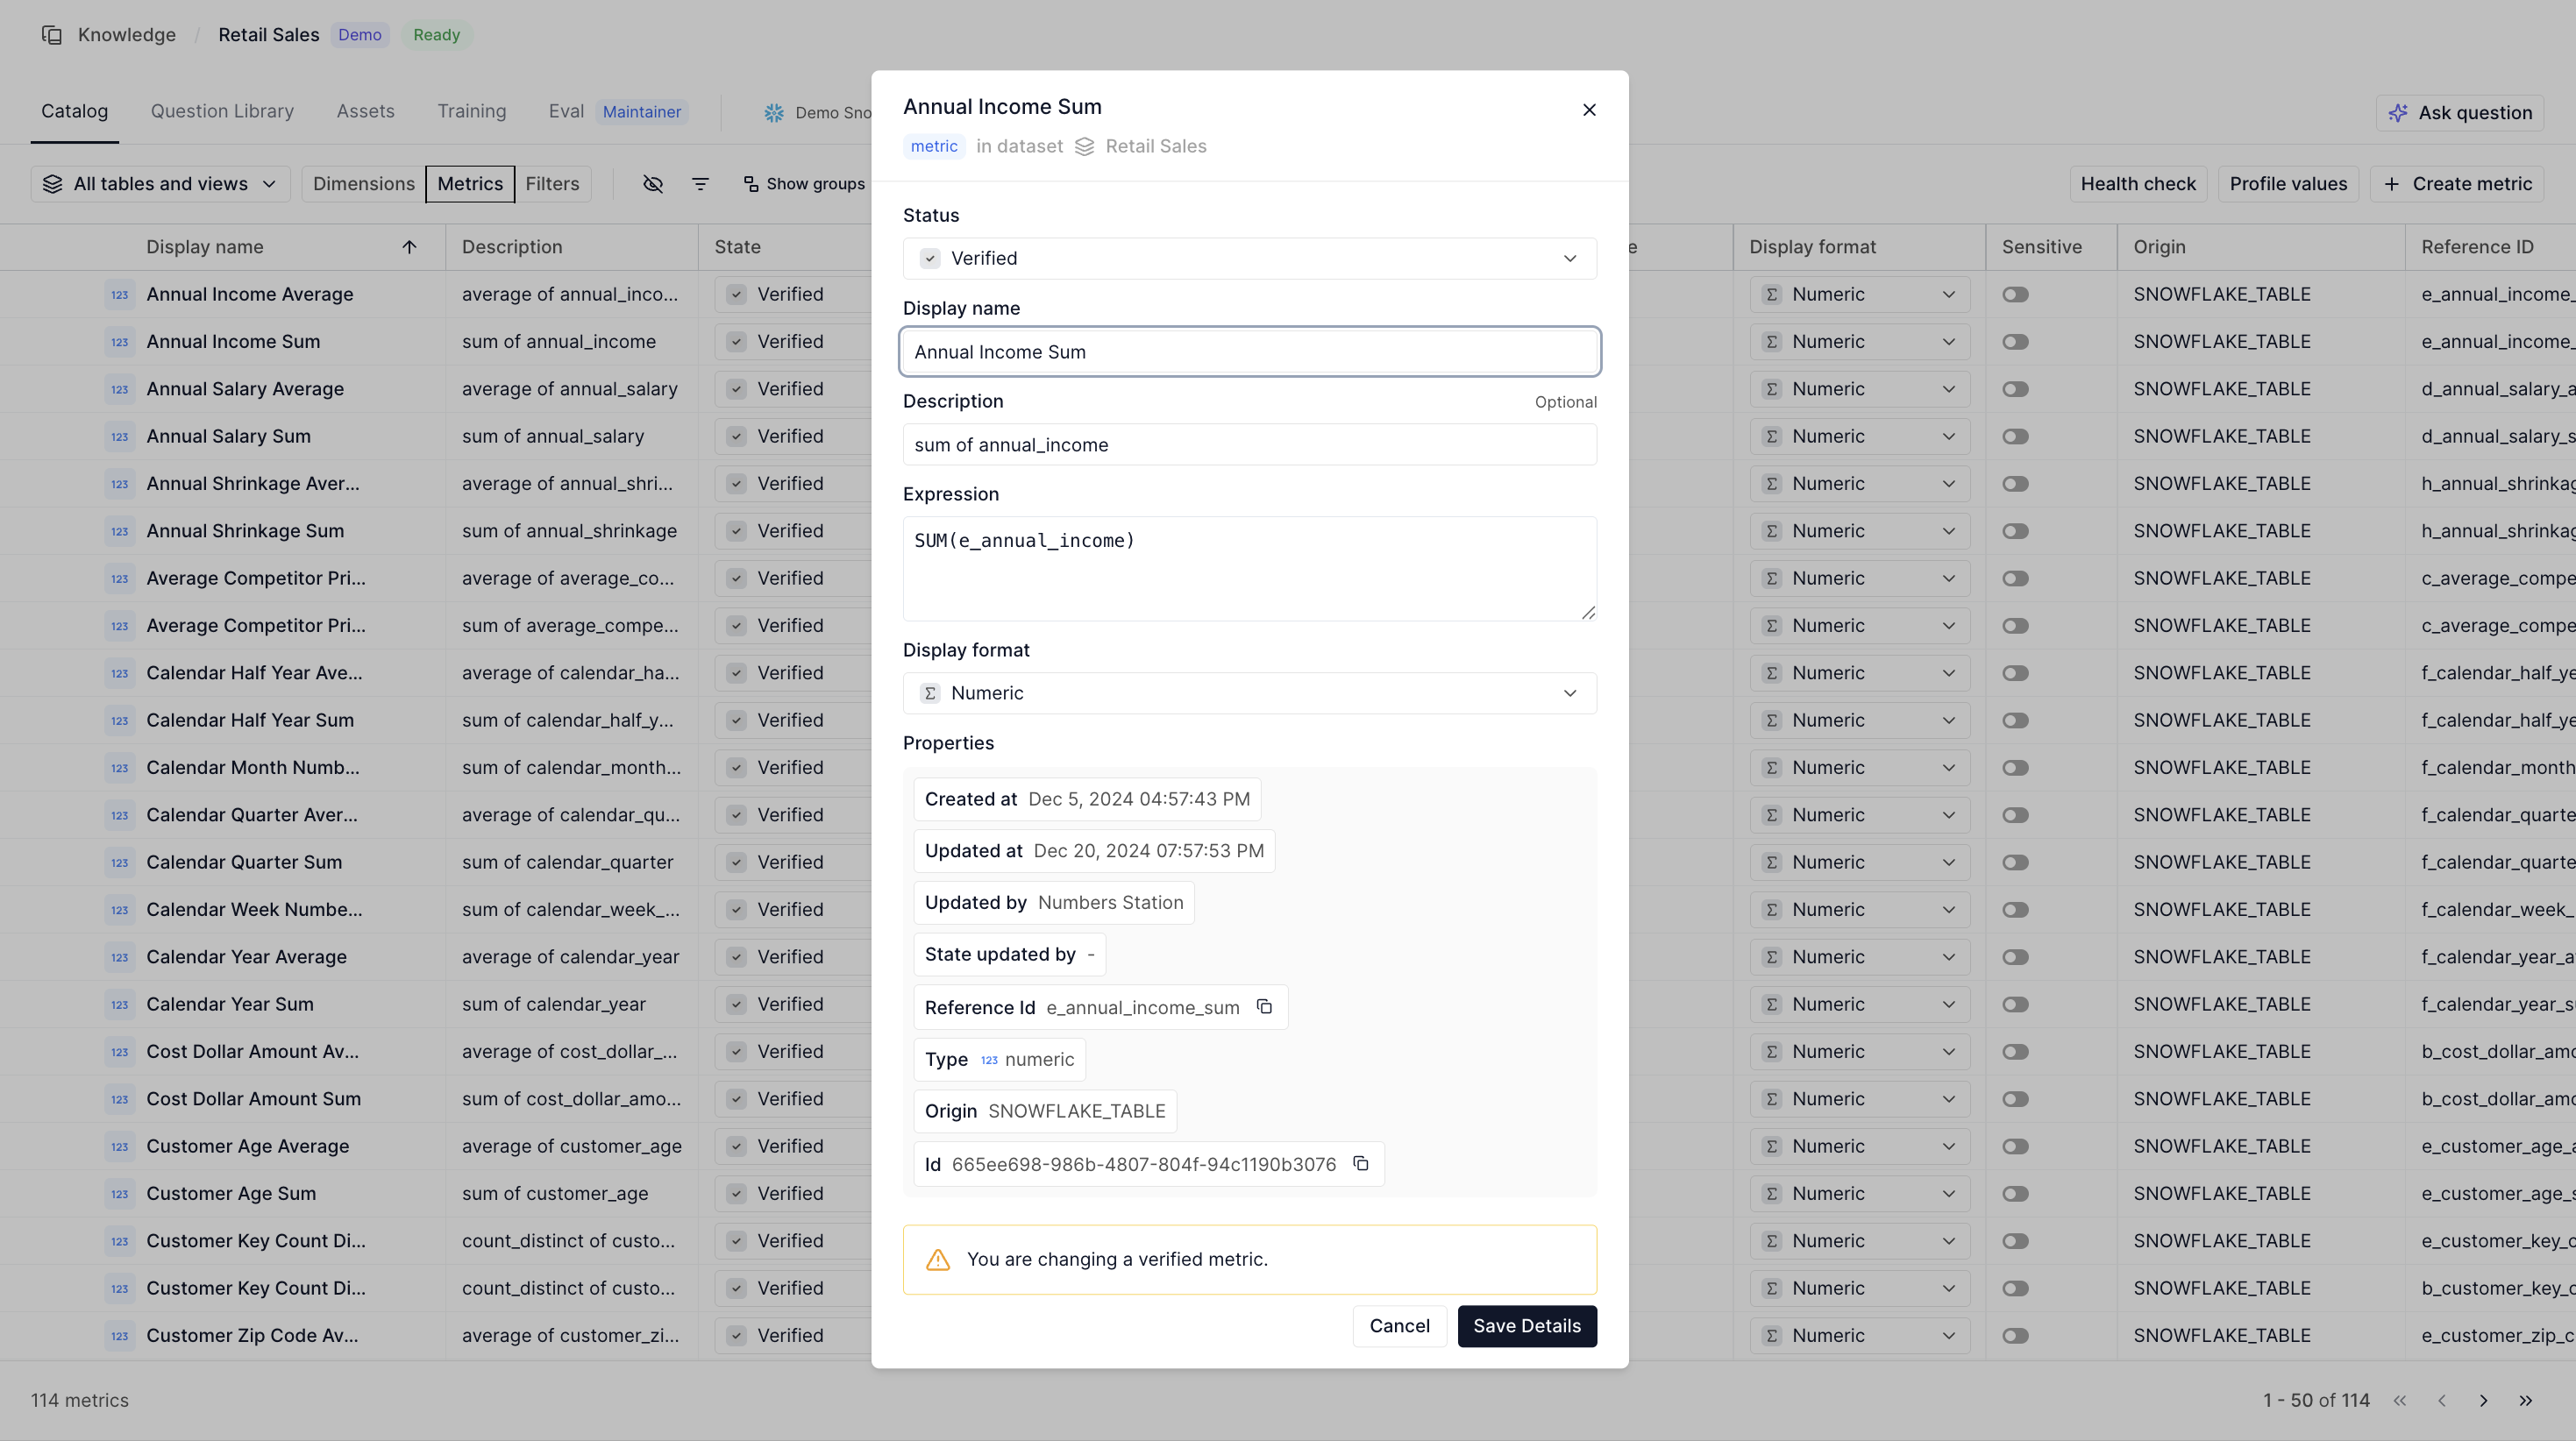
- Verified: Indicates that the dimension or metric is a correct SQL expression and can be referenced by agents when users ask questions.
- Deprecated: Marks a dimension or metric as no longer in use, so agents will not reference it.
Additionally, dimensions and metrics have a validity field:
- Valid: Indicates that the SQL expression for the dimension or metric executes successfully in the data warehouse.
- Invalid: Indicates that the SQL expression for the dimension or metric fails to execute, often due to changes in table schemas or views.
Defining Dimensions and Metrics Using Queries
You can add dimensions and metrics by providing SQL expressions.
To bulk add them, upload a CSV file containing a sql column.
You may also optionally include display_name, name, and description columns.
All other columns will be ignored.
Defining Dimensions and Metrics Using Expressions
Expressions allow you to define dimensions or metrics by referencing existing ones. This is the only way to modify an existing dimension or metric.
Grouping Dimensions and Metrics
Dimensions and metrics must have unique names. A dimension cannot share the same name as a metric, and vice versa. If two dimensions or metrics share the same name, they are treated as part of a group.
Grouped dimensions or metrics enable interchangeable SQL expressions, optimizing query runtime.
Sensitive Dimensions and Metrics
The "sensitive" tag helps identify dimensions and metrics that may contain Personally Identifiable Information (PII) and should be handled with caution.
Use Case for Sensitive Tags
This feature is particularly useful when deploying analytics agents to customer organizations while retaining a shared schema, knowledge layer, and verified questions. Sensitive tags ensure organization-specific information is properly tailored before deployment.
Criteria for Sensitivity
A dimension or metric is considered sensitive if:
- An admin explicitly marks it as sensitive.
- It is derived from a "sensitive" dimension (unless explicitly marked as not sensitive).
- It is derived from a "sensitive" dimension and contains a literal value in its definition (unless explicitly marked as not sensitive).


